Replacing a Shower Faucet Handle

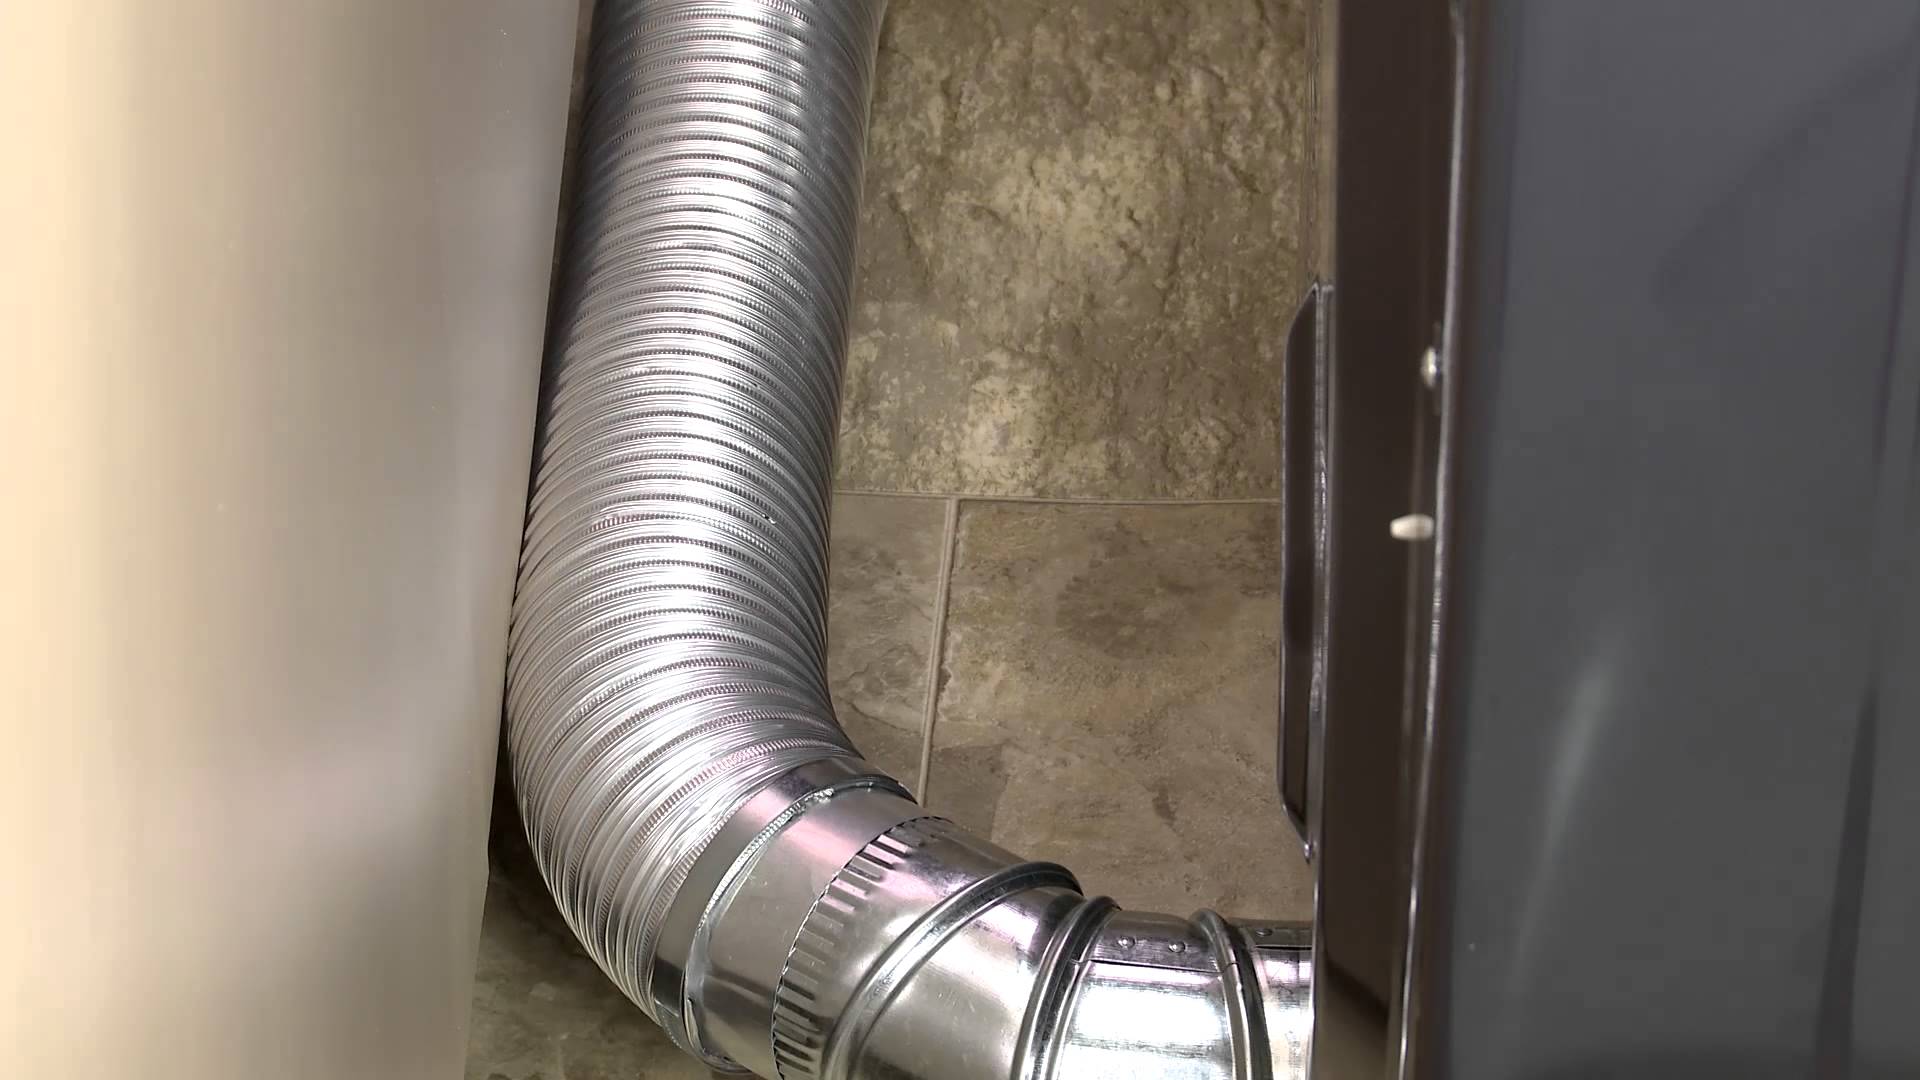
The bathroom is is among the the most-used rooms in the house and should withstand a barrage of wear from repeated use, temperature changes and dampness changes, therefore it isn’t any wonder when a component just like a shower manage needs alternative. Shower manage methods come in a broad selection of metals and styles, and come in single-, double- or triple-manage configurations. Fortunately, no matter what kind of handle you’ve, the procedure for changing the handle is usually the same — and easy.

Turn off the water-supply to the home or to the shower in the event that you CAn’t access the shower supplyline. By turning the shower handles to enable the water currently to drain, open the valve.

Pry any attractive handles off using a flat-head screwdriver. On some handles, it is a piece that sits in the middle of the manage and labels each aspect with the H or C for cool or warm. Don’t worry about breaking this piece, it may be replaced at any given hardware store.

Pry off the ornamental plate, which addresses the manage elements in the wall, using a flathead screw-driver and sits flush against the wall. Use stress to the plate in the event the plate is caught and try before utilizing the screw-driver again to wiggle it.

Remove all screws using a flathead, hex or phillips-head screw-driver as required. Be certain to to look at all components of the manage as some handles some fasten in the rear, some fasten on the sides and fasten in the entrance.

Pull the manage off. Some handles are hard since they’ve corroded on the years to remove. Utilize warmth to the manage utilizing a hair-dryer, if that is true or use a plumbing lubricant to the location. Use a manage puller, which may be purchased in a plumbing provide shop in the event the handle continues to be stuck.

Slide the handle that is new on the stem and fasten the screws to secure the manage. Replace any other ornamental parts and the ornamental plate that you eliminated. Turn the handle to validate that it’s installed properly and turnon the water-supply.

See related

The best way to Keep a Laminate Flooring From Unlocking

Laminate flooring is an invaluable strategy to improve the looks of your investment. Floors are an choice should you not want to the sub-floor to glue laminate planks. Due to their their own building, lock in position to create a great floor surface and floating floor planks were created to relate to planks. In the event the sub-floor area is not entirely level floating floors can unlock. After the flooring issue is resolved by you, you will feel as if you are floating on cloud nine.

Examine the planks to decide which piece is un-locking. Study the piece to create sure it isn’t faulty or broken. Replace the groove or the plank in the event the laminate is splintering and tongue locking method is broken. The sub-floor is probably the issue in the event the planks are in excellent operating situation.

Attach a little bit of masking tape to the very best of every laminate flooring plank you start with with the plank that has been installed. Place a bit of tape on every plank up to flooring plank that is troublesome. Number the tape parts having pencil or a crayon, utilizing number 1 on the plank which was installed. When you re install the parts you are guided by the figures.

Remove baseboards or the trim by prying them free using the back-side of a hammer. Insert a ground puller below the center of the plank that has been installed. Lift up gradually and cautiously to to split up the plank from your plank that is adjoining. Apply light-pressure to the connecting plank by means of your hand. This unlocks and releases the two planks. Remove each row up to the ground plank that is un-locking.

Study the flooring near the un-locking plank to locate any dips in the sub-floor. Apply skim coating co mpound to the un even flooring location utilizing a trowel. Follow the directions to the co mpound that is skim coating to make sure proper adhesion. S and G Wood Floors suggests filling the place that is the reduced with skim coating co mpound as an alternative to leveling it with self-leveling compound. Allow the skimcoat to dry totally.

Reinstall the flooring in the buy they were eliminated by you, you start with together with the piece closest to the sub-floor location that was troublesome. Nail the baseboards or trim straight back in spot. The planks shouldn’t un Lock or individual although due to enlargement and retraction, the flooring can provide somewhat.

See related

The best way to Replace Vertical Blinds Having a Color

You might need to up date the blinds to produce a cohesive look, should you paint your condo or house to reflect your individual style. Jazz up a window using a vivid colour when selecting blinds that are new or go sophisticated using a hue. Replace your outdated window coverings rapidly and conveniently by attaching blinds that are new to the stems, or clips, that secure the blinds also referred to as vanes, to their rail program that is horizontal.

Inspect the leading edge of the blind that is vertical to locate the stem clips that connect the program that is blind to the rail.

Grasp the very top of the blind with one-hand and raise it to select the fat off the stem clip. Spread the stem bottom aside utilizing a thin object like an old credit card or a slotted screw-driver to produce tooth that secure the blind.

Pull the down to take it off in the stem. Release the bottom of the stem to allow the teeth to go straight back.

Grasp the very best end of the blind that is new and raise it. Check before clipping it, the radius of the blind follows that of the aged blind.

Push the leading edge of the teeth that are blind to the stem . Watch the little slot on top of the teeth that are blind to make sure that it aligns with all the stem. When the stem teeth lock to the slot towards the top edge of the blind stop lifting the blind.

Continue this procedure with each blind until all the outdated window coverings are changed.

See related

The best way to Install Molding to get a Bifold Door

Every detail is essential to look and the value of your house. A doorway without trim produce the feeling the house is in complete and will seem unfinished. Correcting this impact is a cheap solution to add value to your own home. Doors are usually installed on drywall reunite doorways. What this means is they do not have door jambs on the face of the doorway. You can nevertheless add moldings across the doorway to handle the dry wall returns like they’re jambs. So your doors seem steady use the molding applied to doorways in your house.

Measure 1/4 inch from the dry wall above the bi-fold. the best of Use an amount and draw a level line extending past the corner on every side of the door. Measure 1/4 inch from the medial side corner. Create a vertical line which is level and straight that crosses your horizontal line. Repeat the measurements for the 2nd side.

Lines were crossed by measure in the left to the crossed lines that were correct. Place situation molding on a miter saw therefore that edge or the top is flat from the fence. Move the lever on the miter saw to the proper 45-degree line. Slide the molding to the proper and reduce it. Measure in the narrow section of the cut that mark your measurement and is closest to you to the correct.

Move the lever on the miter saw to the 45-degree line. Slide the molding and align the mark together with the blade. Cut the molding. Position your molding on a guideline aligned with the lines that were crossed. Nail the situation molding to the stud supporting the dry wall utilizing an end nailgun. Nail every eight inches.

Measure from your left crossed line corner to a floor. Place a little bit of molding on the saw using the outside part that is thicker flat contrary to the fence. Measure in the 90-diploma left aspect cut to your own measurement length over the molding. Mark the board. Slide the molding. Cut the molding.

Apply a bead of carpenter’s glue to the encounter of the corner. Align the board using the cut face of the molding you reduce. Press the corner together. Nail the molding to the concealed stud over the facet of the do-or utilizing an end nail gun having a nail every eight inches. Keep the board 1/4 inch from straight and the corner. Repeat this for the side that is proper. Move your miter lever to measure and the correct from your 90 -diploma facet.

Fill any nail holes with wood filler utilizing your finger. Apply caulk with a caulk gun along the seams and corners. Smooth the caulk using a damp rag.

See related

The best way to Install a Carpet With Carpet Tacks

Wall-to-wall carpet for the reason that it provides comfort and heat to your real estate expense is an choice for flooring. You want to install the carpet yourself and if selecting a carpet installer is not your type, buy wood strips that are tacking. Since they they do not need personal tacks these strips are are made from small connected carpet tacks, usually described as tackless strips. Strips are simple to install on wood or plywood sub-floors and offer a dependable anchoring foundation for carpet. New carpet is an eye-interesting method to add performance and elegance to your own home design.

Measure the size of every wall in your living location. Cut carpet tack strips, using a tablesaw or a circular saw, to to match the perimeter of the area along. Strips typically come in 3-foot sections. Do not reduce any strips to easily fit in the doorways. End a strip in the edge of a doorway and carry on with a different strip on the on the reverse side of the doorway.

Lay the first strip on the ground in a corner. Place the carpet tacking strip a length in the wall add up to about two thirds the thickness of the carpet. Generally, that’s about 1/4 to 1/3 inch from the wall. Point the arrows on the tackstrip toward the wall. The wall should be slanted toward by the person tacks on the strip.

Nail the carpet tack strip to the ground using a hammer. The tacks have been operate opposite by strips. Nail each carpet strip to the ground, operating round the perimeter of the area. Press corners and the ends of every strip tightly against the strip that is next and nail all strips.

Therefore it addresses the whole ground with 1/2 inch of additional around the perimeter. cut the carpet padding Staple the padding to the sub-floor across the perimeter of the area in six-inch intervals utilizing a gun. Trim extra padding a way using a utility knife, creating sure that the carpet tackstrip is obvious of any padding. Leave 1/8 to 1/4 inch of area between the padding strip. tack and the

Lay your pre-cut carpet, measured to match the room, on a floor. Hook the carpet a-T one corner -kicker, an instrument that applies stress to secure the carpet in location, about one-inch in the strip. Bump the knee kicker that is padded therefore it moves the carpet and ahead to hook on the tackstrip.

Stretch the carpet taut from the corner that is hooked to the corner on the other end of the sam e wall utilizing an energy stretcher. A strength stretcher is an investment that is costly, and that means you might want to hire one from a device offer shop. Stretch the carpet, having a mini Mal a-Mount of pressure, in the original corner to the perpendicular corner on the other wall utilizing the stretcher. Pull the carpet to suit the carpet strip on the corner over. Make sure that the carpet is securely fixed round the perimeter of the area using the sam-e process to the strips.

See related

The best way to Cut at an Opening in a Interior Nonbearing Wall

Including a an inside window making a fresh doorway or making a pass-through from a kitchen to a place that is eating needs cutting at a gap in a wall of your home. That’s more easy with inside partitions, which generally aren’t load-bearing supporting or the roof, but nonetheless, it still needs carpentry and remodeling ability. In addition, it will produce lots of rubble and dust, thus seal off the rest of your home and cover-all furniture, counters or alternative items. Check local building codes, also, as a license is required by some re-modeling, particularly if any utilities have to be transferred.

Find the wall studs across the opening using a stud-finder and summarize the place you would like to open. Make use of a tape level, measure and snap line to flat lines in underside and the top of the opening and lines on the middle of the studs outside the opening. Go one complete stud width on every side past the opening; 6 4 inches, for example, to get a a 32-inch door or window to enable brand new wall

Cut a tiny hole through the drywall or other wall-covering on a single side of the wall using a drywall saw. Create “snap” lines in gypsum board by slitting scoring marks over the lines, in order to break loose gypsum board or alternative covering. Set the lines in the middle of a stud to abandon room to fasten dry wall that is new when the opening is whole. Pry wallcovering free using a prybar, employed in in little segments.

Assess for alternative or electric utility lines just as you could observe to the wall cavity. Call an electrician, plumber or gasoline organization to have lines transferred. Open the place before you expose wall studs in the place that is specified. Transfer to one other side of the wall and eliminate that wallcovering. Make use of if achievable to cut-through the contrary wall covering, a mutual tool.

Cut studs in underside and the most notable of the specified opening utilizing a tool that is mutual, enabling space for flat bracing of window, a fresh door or alternative openingthis is going to differ together with the kind of framing you are going to install. Let 1 1/2 inches for each 2 by 4-inch plank. other header or Leave the external studs past the opening in position.

Indicate the measurements that are special for window or the newest door, for example 36 inches to get a typical 32-inch do-or. Install complete studs on each and every side involving the wall leading and bottom plates; toe-nail these with 16 framing nails driven through the studs using a hammer to the plates. Make headers for the very top of the opening with double-D 2 by 4s, fastened along with 4-inch faces up.

Cut nail them through the studs on both sides in the very top of the opening and headers to the breadth of the opening having a round observed. Nail them to the cut undersides of studs over the header, employing a level setting the header degree. Add sills or flat braces of solitary 2 by 4s in the underside of a window or move-through opening.

Measure using a tape measure from your underparts of the the header to the underside wall plate or plate and cut studs to to suit, to to guide the header. Plumb them using a degree and nail them to the studs that are external. Nail sills to minimize at ends below the opening to get a window or move -through. Cut off the bottom full bowl of of a-wall within the studs to get a door.

Install alternative window or any do-or and re-place the gypsum board or alternative covering on either side of the wall.

See related

The best way to Repair a Free Dryer Vent Pipe

A drier vent conduit, frequently called a flex changeover hose, likely is not the most eye-attractive attribute in your house, but air should efficiently transfer to the exterior. You should re-attach it to ensure that the exhaust, wet and remaining lint from clothes and linens have an escape route out of the chamber for those who are in possession of a free drier vent hose that’s not securely connected to your dryer. Provided that your dryer vent pipe damaged or is not broken, fixing it’s a task that is simple.

Turn off the dryer and unplug it from your wall outlet. Remove present plastic, cloth, duct as well as painter’s tape in the bottom of the dryer vent conduit where it attaches to the drier. Ask the Contractor states that drier joints should just be fixed with foil or steel tape. Other kinds of tape so are a fire risk and are vulnerable to damage due to heat and exhaust. Do not use rivets or steel screws to fix the port to the drier. The probability of tears and rips raises in the drier vent conduit and supports lint buildup.

Hold the dryer vent hose from the drier wall socket and press on the rim of the hose on the wall socket fitting. Dryer vent hose should be 4″ in diameter to permit venting. On some drier versions, the drier vent pipe slides right into a stiff band, typically made from metal or aluminium. On the outside of the drier band, the conclusion of the port hose slides on the others. Cut a 4 inch bit of steel tape and wrap it around the best segment of the port hose where it attaches to the drier or metal band. Apply slight pressure to make sure the metal tape is protected. Duplicate the measure, enveloping 4-inch steel tape strips to the sides and underside of the joint, somewhat overlapping each strip with the next.

Enable a hose that is versatile to arch behind your drier and ex IT the holeinthewall out. Ensure there are twists or no kinks in the hosepipe. You have to have enough space behind your dryer for the drier vent pipe to bend without limitation.

See related

The best way to Cut a Garage Door Opening

Re-cutting a garage-door opening is a matter that is little a homeowner can perform to create an enormous effect. The garage-door sits such as a giant clean canvass, facing the route, on the very front of your home. A small dressing up over the span of a week end really can alter the appearance of your property. Than conventional wood trim, vinyl garage-door trim can not only give your garage an up-to-date appearance but requires considerably less maintenance.

Assess the interior dimensions of the garage-door jamb, vertically and horizontally over the very best along either side. Set them apart and cut parts of vinyl jamb stuff, beginning with all the best jamb, to match these measures. Repeat for any any extra weather-stripping which is set up together with the system over the jamb.

Measure for the brick molding (the trim which will face the road) beginning with all the top bit. Put your tape measure in the furthest stage where the brick molding will hang (even in the event that you would like to reduce a miter involved with it it) to the farthest point on the other side. Quantify the perpendicular sections to the place where the very top of the flat trim in the bottom will sit. It’s important to truly have a small extra stuff to get the proper fit with all the miters.

Use where the brick mould sections will join an angle gauge to find out the precise angle. There certainly are a number of angle gauges in the marketplace, refer to your own user guide for the precise steps for this particular process.

Cut a segment of brick form for the flat trim to the precise period of your measures. Establish the miter observed to onehalf the angle you measured utilizing the angle gauge. Examine the orientation of the trimming quite carefully before creating your cuts, both miters needs to be cut s O that the portion of the trim is in the most notable as well as the most narrow a-T the underside. Examine the cut angle several times with no tool before participating the blade running.

Cut on the vertical bits in a manner that is similar to Measure 4, with all the broadest parts externally, however don’t cut at an angle to the underside of either bit. You WOn’t need to readjust the angle in the header in case your door is totally square. Place the trim a-side.

Nail the vinyl jamb in to area using 2-inch atmosphere nails, beginning together with the top. Attach threequarters of an inch from both ends and every 12-inches in between. Duplicate for the jam bits that are perpendicular. Shut the door when there’s yet another weatherstripping piece s O that it only fits contrary to the garagedoor, and set it up. Seal borders and most of the corners where vinyl and vinyl meet with apparent PVC pavement to boost bonding.

Install the perpendicular bits of brick molding, utilizing 3-inch atmosphere nails, in the precise place where its measurements were quantified by you. As it can readily burst nail each bit every one foot, but be cautious in the corner. Put the final nail 2 inches in the edge of the miter in the event the trim is lying flat. Install the bit that was flat, centered between both uprights and together with the miters snugly in to one still another. As explained for the perpendicular pieces nail it. PVC adhesive -on-vinyl corners and in the mitered joints.

See related

How to Skim Coat Drywall

Buying a fixer upper may be a real-estate investment that is shrewd for those who possess energy plus time to upgrade the home. In the event the the inner partitions have paint feel that is undesirable or have slight damage from deterioration, you can skim coat the gypsum board to provide it a surface that is clean. Skimcoating is and never have to to displace it, an easy procedure that refreshes a wall.

By implementing a bonding agent to the wall area ready the gypsum board. Use a roller-brush to put on the bonding agent evenly and easily on the gypsum board. Bob Villa advocates using fiberglass mesh tape to any or all joints between the sheets of gypsum board to avoid cracking. Cover the joints using a basecoat of plaster that is perlited.

Wet the area using a sponge before skim coating. Apply rough plaster utilizing a knife, frequently called a dry wall knife or trowel, smoothing out irregular and lumps melancholy. Cover the net tape leveling the place out as you distribute the stuff. The vulgar plaster skimcoat application resembles applying joint compound into a wall region.

Produce your plaster mix according to directions on the tote. Plaster utilizing a clear knife that is joint in about 3-foot- sections. Avoid operating on the plaster or a bigger region begins to dry before you’ve got time to distribute it equally. Bob Villa proposes holding the tool in a low angle to the top and shoving against the plaster lightly over the wall area to skim coat equally.

Put in a bit of plaster as you distribute a second layer of plaster to the top and use light pressure. Distribute the area with strokes that are parallel, subsequently perpendicular strokes to get the surface level and even. Make certain the surface is free of ridges, bumps and creases before you end the skimcoat having a smoothing approach that is closing.

Splash on the recently plastered wall area lightly having a blister brush. A moist paint-brush will continue to work should you not have a blister brush. Smooth the area using a trowel, collecting modest levels of plaster that is good as the skim coated area levels. Make use of the plaster that is great on the trowel to complete almost any holes or indentations.

See related

The best way to Make Use Of Clips for Hardwood Flooring

Flooring adds value using its natural appearance and endurance and complements a house. To improve hardwood flooring lastingness, a special locking method is used by some makers, called clips, to keep the hard-wood boards securely attached to one another to get an extended lifespan. These clips have to be attached correctly for the flooring to stay amount and aesthetically pleasant, and at specific space points, to each board.

Set the hard-wood flooring in the chamber that it’ll be set up within. Enable the wood to acclimate to the temperature and humidity for at least 2-4 hrs.

Sweep the sub-floor using a sweeper to get rid of any detritus. For debris removal that is additional, make use of a vacuum to make sure that the subfloor stays clean.

Roll out underlayment on the other side of the subfloor. Cut on the borders of the underlayment using a utility knife to ensure an 1/2-inch area is between the ending of the wall. the underlayment and

Before the whole floor is coated continue to roll-out the underlayment. Tape the individual underlayment lengths at their edges with gray tape.

Take one hard-wood board in the supply and change it it around, putting it upon the floor. Quantify 24 inches from end of the board using a measuring tape. Press on a clip to the groove on the trunk of the board at this 24-inch place using the fingers. Beat the clip totally to the groove using a hammer

Beat and to press clips -inch intervals before the board is finished. Turn over the board and put it to the floor in the beginning region that is specified. The clip should nevertheless be observable as a protrusion in the board.

Repeat steps 6 and 5 for still another hard-wood board.

Attach to the primary board by fitting the clip that is protruding to the under side groove on the board that is next from the primary board. Carefully press on the boards together and down until it snaps into place. Ensure that each other is not touching by canceling each board, in the place of putting them absolutely parallel to one still another.

Repeat actions 8 and 7 for the flooring region. If needed, include mo-Re hard-wood boards to the endings of the formerly installed spans for rooms that are bigger. Ensure that you use tongue and groove adhesive to the ends of the hard-wood boards so the assembly ends possess a type of connection that is sound.

See related